Copiers are indispensable tools in the office, but frequent malfunctions such as paper jams, blurry printing, and black spots can seriously affect work efficiency. Most of these common faults do not require professional maintenance; you can solve them by yourself with simple steps. This manual will provide a detailed step-by-step troubleshooting guide for these three high-frequency problems, helping you quickly get the copier back to normal.
Paper jam is the most common copier fault, usually caused by improper paper selection, wrinkled paper, or foreign objects in the paper feed path.
Step 1: Turn off the copier and unplug the power cord to ensure safety.
Step 2: Open the front door or paper feed tray of the copier, and carefully take out the jammed paper along the paper feed direction (do not pull hard to avoid tearing the paper and leaving debris).
Step 3: Check the paper feed roller and paper exit area for residual paper scraps or foreign objects, and clean them with a soft cloth.
Step 4: Put new, flat, and compatible paper into the paper feed tray, ensuring the paper is aligned with the guide rail.
Step 5: Close the front door or paper feed tray, plug in the power cord, and turn on the copier to test whether it works normally.
Blurry printing often makes the printed documents unreadable, and its main causes include insufficient toner, dirty print head, or improper printing settings.
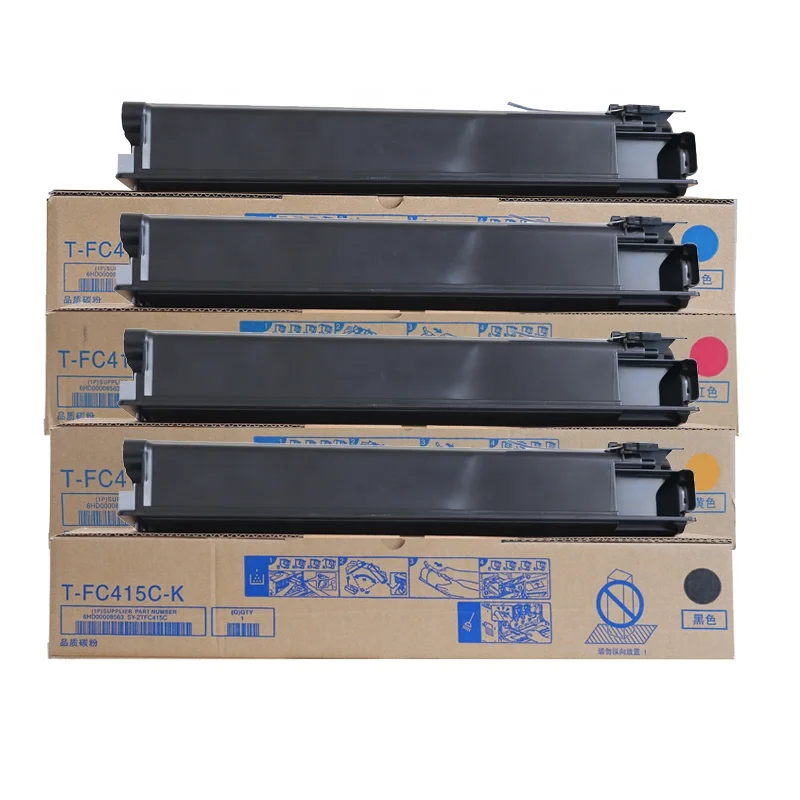
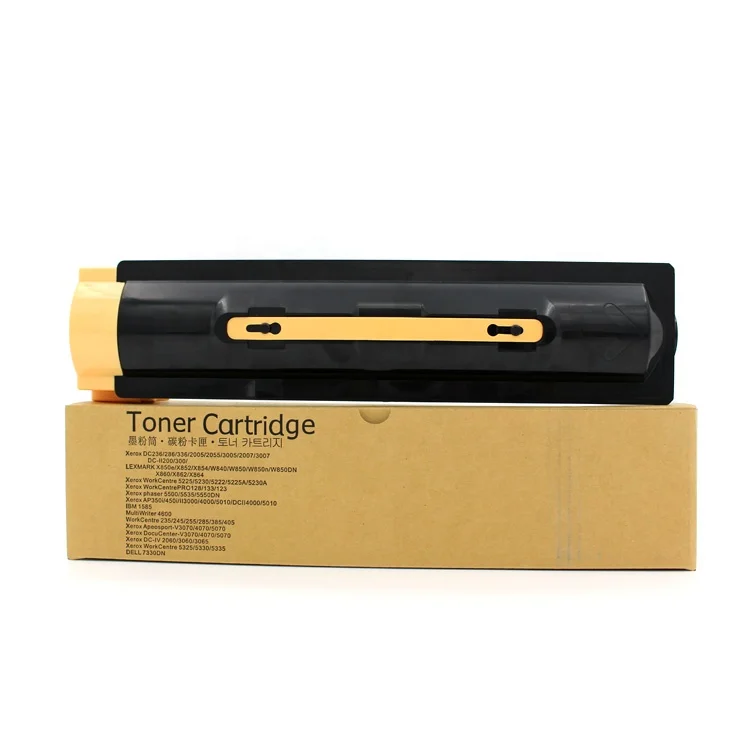
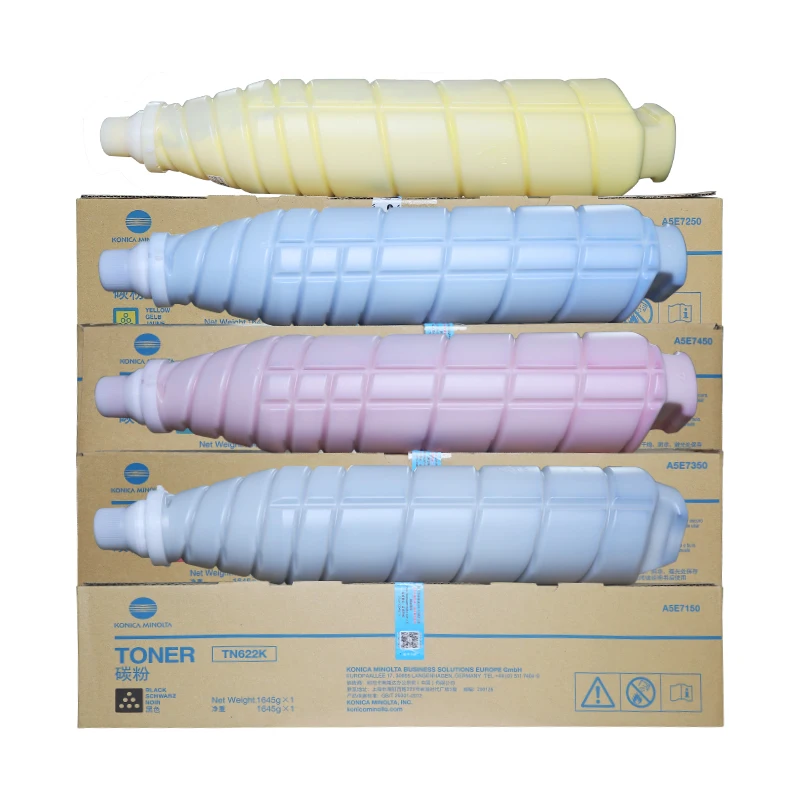
Step 1: Check the toner level of the copier. If the toner is low, replace the toner cartridge with a new one (it is recommended to use genuine or high-quality compatible toner cartridges to ensure printing quality).
Step 2: Open the copier cover, take out the toner cartridge, and gently shake it to evenly distribute the remaining toner (this can temporarily solve the problem of blurriness caused by uneven toner).
Step 3: Clean the print head and scanning glass with a lint-free cloth dipped in a small amount of alcohol (be careful not to scratch the scanning glass).
Step 4: Check the copier's printing settings; adjust the print resolution to a higher level and ensure the paper type setting matches the actual paper used.
Step 5: Print a test page to check if the printing effect is improved.
Black spots on printed documents are mostly caused by dirty drum units, toner residue on the fixing roller, or damaged imaging components.
Step 1: Turn off the copier and wait for the fixing roller to cool down (to avoid high-temperature scalding).
Step 2: Take out the drum unit and toner cartridge assembly, and use a soft brush to gently clean the surface of the drum unit (do not touch the drum surface with your hands to prevent oil stains from affecting imaging).
Step 3: Check the fixing roller for toner residue or dirt, and clean it with a soft cloth dipped in alcohol.
Step 4: If the black spots still exist after cleaning, check whether the drum unit is damaged (such as scratches on the drum surface). If so, replace the drum unit in time.
Step 5: Install the drum unit and toner cartridge assembly back into the copier, print a test page, and confirm that the black spots are eliminated.
In addition to the above targeted troubleshooting methods, regular maintenance can effectively reduce the occurrence of copier faults. It is recommended to clean the paper feed roller, scanning glass, and interior of the copier every month; use high-quality paper and consumables that are compatible with the copier model; and avoid overloading the paper feed tray. These small habits can not only extend the service life of the copier but also ensure stable printing quality.
If the copier still fails to work normally after performing the above troubleshooting steps, it may be a more complex mechanical or electrical fault. At this time, it is not recommended to disassemble the copier by yourself. You can contact our professional after-sales team for maintenance support. We provide comprehensive after-sales services for copiers and consumables, ensuring that your office equipment runs smoothly without worry.
 Hot News
2026-07-21
2026-07-11
2026-07-03
2026-06-26
2026-06-17
2026-06-12
Guangzhou SC Office Equipment Co., Ltd specializes in high-quality, Japan-compatible copier and printer consumables since 2009. Discover reliable toner cartridges and imaging solutions.
Building H, Yushu Innovation Park, Science City, Huangpu District, Guangzhou, Guangdong, China
Copyright © 2026 Guangzhou Xinshengchu Office Equipment Co., Ltd. All right Privacy Policy