
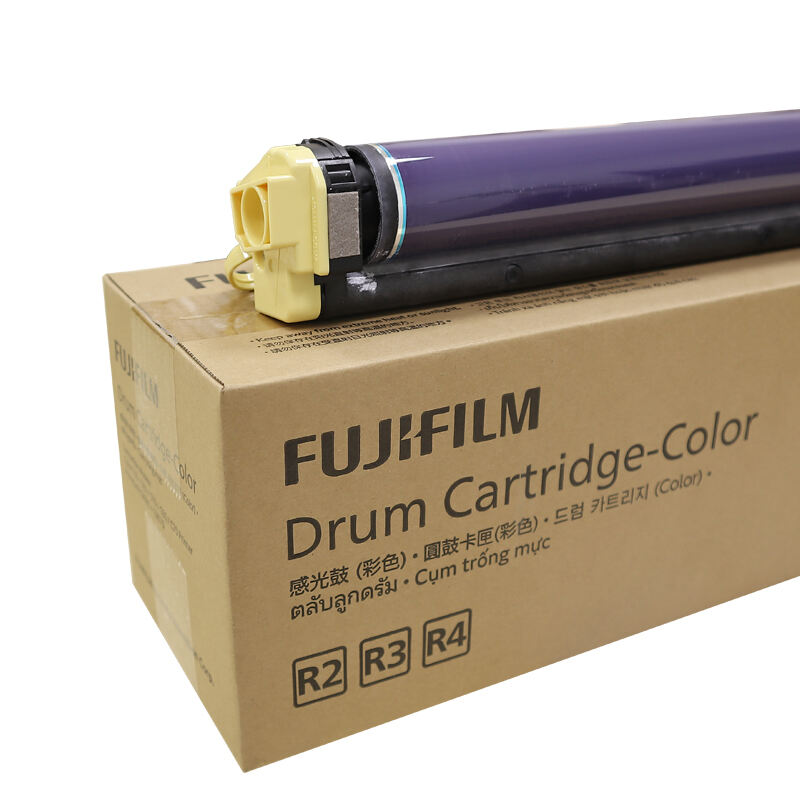
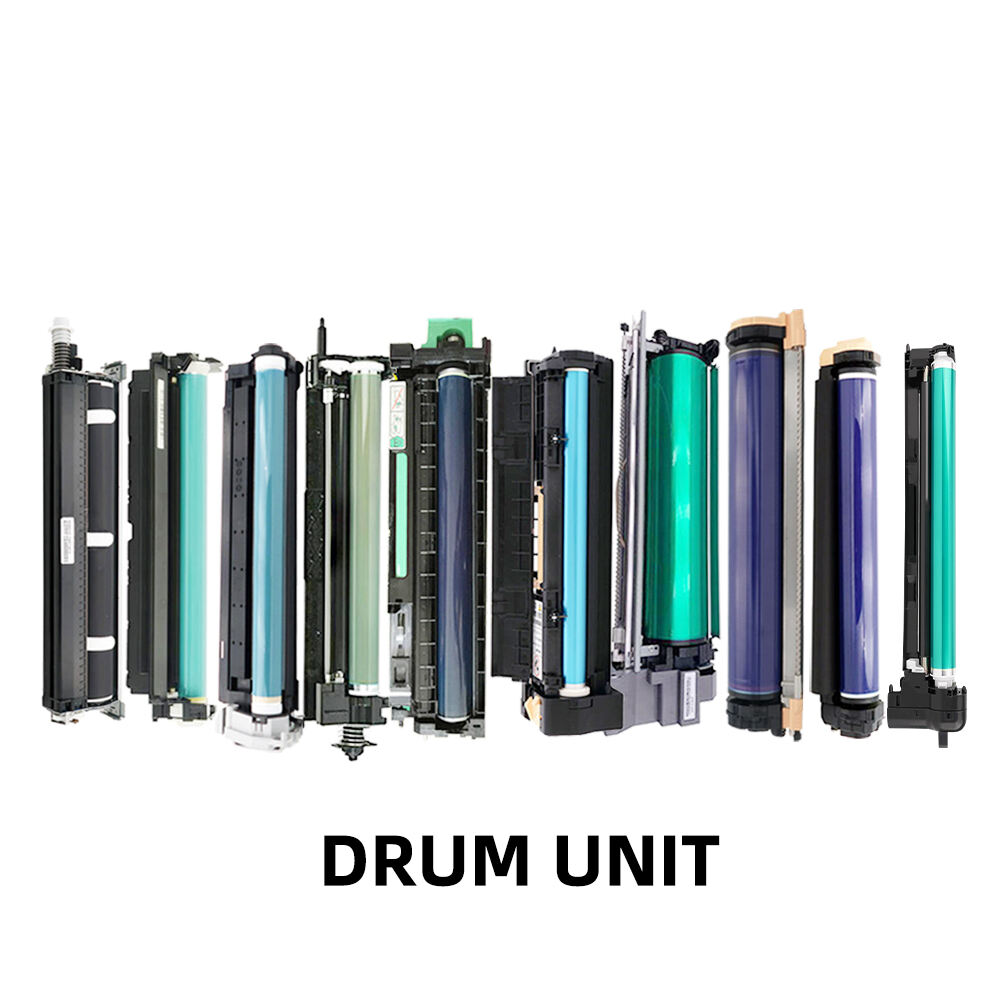
Drum units are essential components in laser printers and copiers that play a critical role in the printing process. These cylindrical photoconductors transfer toner onto paper to create text and images, making them indispensable for high-quality output. However, like any mechanical component, drum units can experience various issues that affect print quality and overall performance. Understanding common drum unit problems and their solutions can save businesses significant time and money while ensuring consistent printing results.
Professional print environments rely heavily on drum unit functionality to maintain productivity and document quality standards. When these components malfunction, the resulting print defects can range from minor cosmetic issues to complete printing failures. Recognizing the early warning signs of drum unit deterioration allows maintenance teams to address problems proactively before they escalate into costly equipment downtime or customer complaints.
Modern drum units incorporate sophisticated photoconductive materials and precision engineering to deliver thousands of impressions reliably. Despite their robust construction, environmental factors, usage patterns, and maintenance practices significantly influence their lifespan and performance characteristics. Implementing proper troubleshooting procedures and preventive measures ensures optimal drum unit operation throughout their service life.
Understanding Drum Unit Functionality
Photoconductor Technology and Operation
Drum units utilize photoconductor materials that exhibit unique electrical properties when exposed to light. These materials, typically organic photoconductors or amorphous silicon, can hold an electrostatic charge in dark conditions while losing this charge when illuminated. The laser beam selectively discharges specific areas of the drum surface, creating an invisible electrostatic image that corresponds to the printed content.
The charging process begins with a primary charge roller or corona wire applying a uniform negative charge across the entire drum surface. Subsequently, the laser scanning unit projects precise light patterns onto the drum, neutralizing the charge in areas where toner should not adhere. This selective discharge process creates the latent image that guides toner placement during the development stage.
Quality drum unit performance depends on maintaining consistent photoconductor sensitivity and charge retention capabilities throughout the component's operational life. Environmental factors such as humidity, temperature fluctuations, and exposure to ambient light can gradually degrade these properties, leading to various drum unit problems that manifest as print quality defects.
Integration with Toner and Transfer Systems
Drum units work in close coordination with toner cartridges and transfer mechanisms to produce printed output. The toner particles, carrying a positive charge, are attracted to the negatively charged areas of the drum surface where the laser has not discharged the photoconductor. This electrostatic attraction ensures precise toner placement according to the image pattern.
The transfer process involves moving the toned image from the drum surface to the paper substrate using either a transfer roller or transfer belt system. Proper timing, pressure, and electrical charge relationships between these components are crucial for achieving complete toner transfer without streaking or incomplete coverage. Any disruption in this delicate balance can result in various print quality issues.
After image transfer, the drum surface must be thoroughly cleaned to prepare for the next printing cycle. Cleaning blades, waste toner collection systems, and discharge lamps work together to remove residual toner particles and neutralize any remaining electrostatic charge. Inadequate cleaning can cause ghosting effects and premature drum wear in subsequent print jobs.
Print Quality Defects and Root Causes
Streaking and Banding Patterns
Vertical streaks running parallel to the paper feed direction often indicate drum unit problems related to surface contamination or physical damage. These defects typically result from toner particles adhering to the drum surface due to inadequate cleaning, worn cleaning blades, or foreign debris interfering with the cleaning mechanism. Regular inspection of cleaning components can help identify potential issues before they affect print quality.
Horizontal banding patterns that repeat at regular intervals across the printed page usually correspond to specific circumferential locations on the drum surface. These repetitive defects may indicate localized drum damage, uneven wear patterns, or inconsistent charge distribution around the drum circumference. Measuring the spacing between bands can help technicians identify the specific drum component causing the problem.
Color variations in banding patterns provide additional diagnostic information about the underlying cause. Light bands typically indicate areas where insufficient toner is being applied, while dark bands suggest excessive toner attraction or poor transfer efficiency. Environmental factors such as humidity changes can exacerbate these symptoms by affecting toner flow characteristics and electrostatic charge stability.
Ghosting and Image Retention
Ghosting occurs when faint images from previous print jobs appear on subsequent pages, indicating incomplete drum discharge or cleaning. This phenomenon commonly results from worn discharge lamps, inadequate cleaning blade contact, or photoconductor fatigue that prevents complete charge neutralization between print cycles. Adjusting cleaning blade pressure or replacing discharge components often resolves minor ghosting issues.
Image retention problems manifest as persistent shadows or phantom images that gradually fade over multiple print cycles. These symptoms typically indicate photoconductor degradation where certain areas of the drum surface retain electrostatic memory from previous exposures. High-contrast images, solid fill patterns, and extended idle periods between print jobs can contribute to image retention severity.
Temperature and humidity fluctuations significantly influence ghosting tendencies by affecting photoconductor electrical properties and toner flow characteristics. Maintaining stable environmental conditions in the print room helps minimize these issues while extending drum unit service life. Regular calibration cycles and drum refresh procedures can also help reset photoconductor properties and reduce retention effects.
Mechanical Failures and Wear Patterns
Bearing and Shaft Problems
Drum unit mechanical failures often originate from bearing wear, shaft misalignment, or gear train problems that affect rotational smoothness and precision. These mechanical issues typically develop gradually over thousands of print cycles, manifesting as increased noise levels, vibration, or irregular rotation patterns that create corresponding print defects. Early detection through regular maintenance inspections can prevent catastrophic failures.
Bearing lubrication degradation accelerates wear rates and can cause shaft binding or erratic rotation under load conditions. Environmental contaminants such as paper dust, toner particles, and atmospheric moisture can compromise bearing seals and contaminate lubricants, leading to premature failure. Implementing proper environmental controls and regular cleaning procedures helps maintain mechanical component integrity.
Shaft alignment problems create uneven pressure distribution across cleaning blades and transfer components, resulting in inconsistent print quality and accelerated wear patterns. Misalignment can result from improper installation, impact damage during handling, or gradual settling of mounting components over time. Precision alignment tools and proper installation procedures are essential for preventing these mechanical drum unit problems.
Surface Coating Degradation
Photoconductor surface coatings undergo gradual degradation through repeated charge and discharge cycles, mechanical contact with cleaning components, and chemical interactions with toner formulations. This degradation typically manifests as reduced charge acceptance, altered discharge characteristics, or increased sensitivity to environmental factors that affect print quality consistency.
Abrasive wear from cleaning blades creates microscopic surface roughness that can trap toner particles and create streaking patterns. The wear rate depends on cleaning blade material, contact pressure, toner abrasiveness, and operating environment conditions. Monitoring surface condition through visual inspection and print quality assessment helps determine optimal replacement timing.
Chemical degradation of photoconductor materials occurs through oxidation, ozone exposure, and interactions with toner additives or cleaning solvents. These chemical changes alter the electrical properties of the photoconductor surface, leading to charge retention problems, sensitivity variations, and premature aging effects. Proper storage conditions and handling procedures help minimize chemical degradation rates.
Environmental Impact Factors
Temperature and Humidity Effects
Temperature fluctuations significantly impact drum unit performance by affecting photoconductor electrical properties, toner flow characteristics, and mechanical component dimensions. High temperatures can accelerate photoconductor aging, increase toner adherence to drum surfaces, and cause thermal expansion that affects component alignment and clearances. Maintaining stable operating temperatures within manufacturer specifications helps optimize drum unit longevity.
Humidity levels directly influence electrostatic charge behavior and toner particle cohesion, affecting both print quality and drum unit wear patterns. Low humidity environments can cause excessive static buildup, leading to poor toner transfer and increased cleaning blade wear. Conversely, high humidity can reduce charge retention and create toner clumping that interferes with proper development and cleaning processes.
Rapid environmental changes create thermal stress cycles that can cause material fatigue and accelerate component degradation. Gradual acclimatization procedures when moving equipment between different environmental conditions help minimize thermal shock effects. Installing environmental monitoring systems enables proactive adjustments to maintain optimal operating conditions throughout drum unit service life.
Contamination and Foreign Debris
Paper dust, toner spillage, and atmospheric contaminants can accumulate on drum surfaces and interfere with proper electrostatic charge distribution and toner development processes. These contaminants create localized charge variations that manifest as print quality defects such as spots, streaks, or uneven density patterns. Regular cleaning procedures and proper environmental filtration help minimize contamination accumulation.
Foreign debris from worn paper handling components, damaged toner cartridges, or external sources can cause physical damage to drum surfaces and cleaning mechanisms. Even microscopic particles can create scratches or indentations that become permanent defect sources throughout the remaining drum life. Implementing proper handling procedures and regular inspection protocols helps identify and remove debris before damage occurs.
Chemical contamination from cleaning solvents, lubricants, or atmospheric pollutants can alter photoconductor surface properties and affect charge acceptance characteristics. These chemical changes often create permanent alterations that cannot be reversed through normal cleaning procedures. Using only approved cleaning materials and maintaining clean work environments prevents chemical contamination issues.
Diagnostic Procedures and Testing Methods
Visual Inspection Techniques
Systematic visual examination of drum unit components provides valuable diagnostic information about wear patterns, damage, and contamination issues. Using proper lighting conditions and magnification tools, technicians can identify surface scratches, coating irregularities, cleaning blade wear, and debris accumulation that may not be apparent under normal operating conditions. Establishing standardized inspection procedures ensures consistent evaluation criteria across different maintenance personnel.
Photographic documentation of drum unit condition creates historical records that track degradation patterns and help predict optimal replacement timing. Digital imaging with consistent lighting and positioning enables detailed comparison between inspection intervals and facilitates communication with technical support personnel when troubleshooting complex issues. These records also support warranty claims and equipment lifecycle management decisions.
Surface contamination assessment requires careful examination under various lighting angles to reveal subtle deposits or staining that may not be visible under direct illumination. Specialized inspection tools such as UV lights can reveal certain types of contamination or coating irregularities that are invisible under normal lighting conditions. Training maintenance personnel in proper inspection techniques improves diagnostic accuracy and problem identification speed.
Print Quality Analysis
Test pattern printing provides systematic evaluation of drum unit performance across various operating conditions and image types. Standard test patterns including solid fills, fine lines, halftone gradients, and text samples reveal different aspects of drum functionality and help isolate specific performance issues. Regular test printing enables early detection of degradation trends before they impact production output quality.
Density measurements using calibrated instruments provide quantitative assessment of print quality consistency and can reveal subtle variations that may not be apparent through visual inspection alone. These measurements help establish baseline performance parameters and track gradual changes over time. Automated measurement systems enable efficient monitoring of multiple print quality parameters simultaneously.
Color registration and alignment testing reveals mechanical issues such as shaft wobble, bearing wear, or gear train problems that affect drum positioning accuracy. These tests help differentiate between drum unit mechanical problems and other system components that may cause similar symptoms. Precision measurement tools and standardized test procedures ensure reliable diagnostic results.
Preventive Maintenance Strategies
Cleaning and Care Procedures
Regular cleaning of drum unit exterior surfaces removes accumulated dust and debris that can interfere with proper operation and cooling airflow. Using appropriate cleaning materials and techniques prevents damage to sensitive components while maintaining optimal environmental conditions around the drum assembly. Establishing scheduled cleaning intervals based on operating volume and environmental conditions helps maintain consistent performance levels.
Internal cleaning procedures require careful attention to photoconductor surface protection and proper handling techniques to prevent damage or contamination. Specialized cleaning materials designed for photoconductor applications ensure effective contaminant removal without affecting surface properties or electrical characteristics. Training maintenance personnel in proper cleaning procedures prevents inadvertent damage during routine maintenance activities.
Cleaning blade maintenance involves periodic inspection for wear, proper contact pressure adjustment, and replacement when wear indicators show excessive degradation. Maintaining optimal cleaning blade performance prevents toner buildup on drum surfaces and extends overall drum unit service life. Documentation of cleaning blade replacement intervals helps establish optimal maintenance schedules for specific operating conditions.
Storage and Handling Guidelines
Proper storage conditions protect drum units from environmental damage during periods of non-use or while awaiting installation. Temperature and humidity control, light protection, and contamination prevention measures help preserve photoconductor properties and mechanical component integrity. Following manufacturer storage recommendations ensures maximum service life when drum units are eventually installed and operated.
Handling procedures for drum unit installation and removal require specific techniques to prevent physical damage and maintain cleanliness standards. Using appropriate lifting tools, wearing protective gloves, and following prescribed installation sequences prevents common damage causes such as surface scratches, contamination, or mechanical stress. Training installation personnel in proper procedures reduces the risk of premature drum unit problems.
Packaging and transportation considerations become important when moving drum units between locations or returning them for service. Proper protective packaging, orientation control, and shock protection prevent damage during transit and ensure drum units arrive in optimal condition. Following shipping guidelines helps maintain warranty coverage and prevents unnecessary replacement costs.
Troubleshooting Common Issues
Step-by-Step Problem Resolution
Systematic troubleshooting approaches help identify the root causes of drum unit problems and prevent misdiagnosis that leads to unnecessary component replacement. Beginning with the most common and easily corrected issues, technicians can efficiently resolve problems while minimizing equipment downtime and maintenance costs. Establishing standardized troubleshooting procedures ensures consistent diagnostic approaches across different maintenance personnel.
Environmental factor evaluation should be completed early in the troubleshooting process since temperature, humidity, and contamination issues can create symptoms similar to component failures. Correcting environmental problems often resolves apparent drum unit issues without requiring component replacement. Monitoring environmental conditions during troubleshooting helps verify whether problems persist under optimal operating conditions.
Component isolation testing involves systematically checking individual drum unit elements to identify specific failure sources. This methodical approach prevents replacing functional components while ensuring that actual problem sources are properly addressed. Using appropriate testing equipment and following manufacturer diagnostic procedures improves troubleshooting accuracy and efficiency.
When to Replace vs Repair
Economic analysis comparing repair costs versus replacement expenses helps determine the most cost-effective solution for drum unit problems. Factors such as remaining service life, repair complexity, parts availability, and downtime requirements influence this decision-making process. Establishing clear criteria for repair versus replacement decisions ensures consistent and economically sound maintenance practices.
Performance degradation assessment involves evaluating whether repaired drum units can meet required print quality standards throughout their remaining service life. Some types of damage or wear cannot be effectively repaired and will continue causing problems even after attempted corrections. Understanding the limitations of various repair techniques helps avoid futile repair attempts on components that require replacement.
Warranty considerations may influence repair versus replacement decisions, particularly for newer drum units that remain under manufacturer warranty coverage. Understanding warranty terms and authorized repair procedures ensures maximum benefit from warranty protection while maintaining proper documentation for potential claims. Consulting with manufacturer technical support helps clarify warranty coverage for specific problem types.
FAQ
What are the most common signs that indicate drum unit problems
The most common signs of drum unit problems include vertical streaking, repetitive horizontal banding, ghosting from previous images, faded or uneven print density, and unusual noise during operation. Print quality defects typically appear as consistent patterns that repeat based on drum circumference measurements. Visual inspection may reveal surface scratches, contamination, or cleaning blade wear that corresponds to observed print quality issues.
How often should drum units be replaced in high-volume printing environments
Drum unit replacement frequency depends on monthly print volume, image content complexity, environmental conditions, and maintenance quality. Most manufacturers specify drum life in terms of page yield under standard operating conditions, typically ranging from 50,000 to 300,000 impressions. High-volume environments may require replacement every 6-18 months, while monitoring print quality indicators helps determine optimal timing for specific operating conditions.
Can environmental factors cause permanent damage to drum units
Environmental factors such as extreme temperatures, high humidity, direct sunlight exposure, and chemical contamination can cause permanent damage to drum unit photoconductor surfaces and mechanical components. Temperature cycling creates thermal stress that can crack coatings or cause delamination, while chemical exposure alters electrical properties permanently. Maintaining proper environmental controls and storage conditions prevents most environmental damage issues.
What maintenance procedures can extend drum unit service life
Regular cleaning of external surfaces, proper environmental control, gentle handling during installation and removal, and periodic calibration procedures help extend drum unit service life. Avoiding exposure to direct light when removed from equipment, using only approved cleaning materials, and following manufacturer maintenance schedules also contribute to longevity. Monitoring print quality trends enables proactive maintenance before problems develop into permanent damage.