
Understanding the Critical Role of Upper Fuser Rollers in Printing Systems
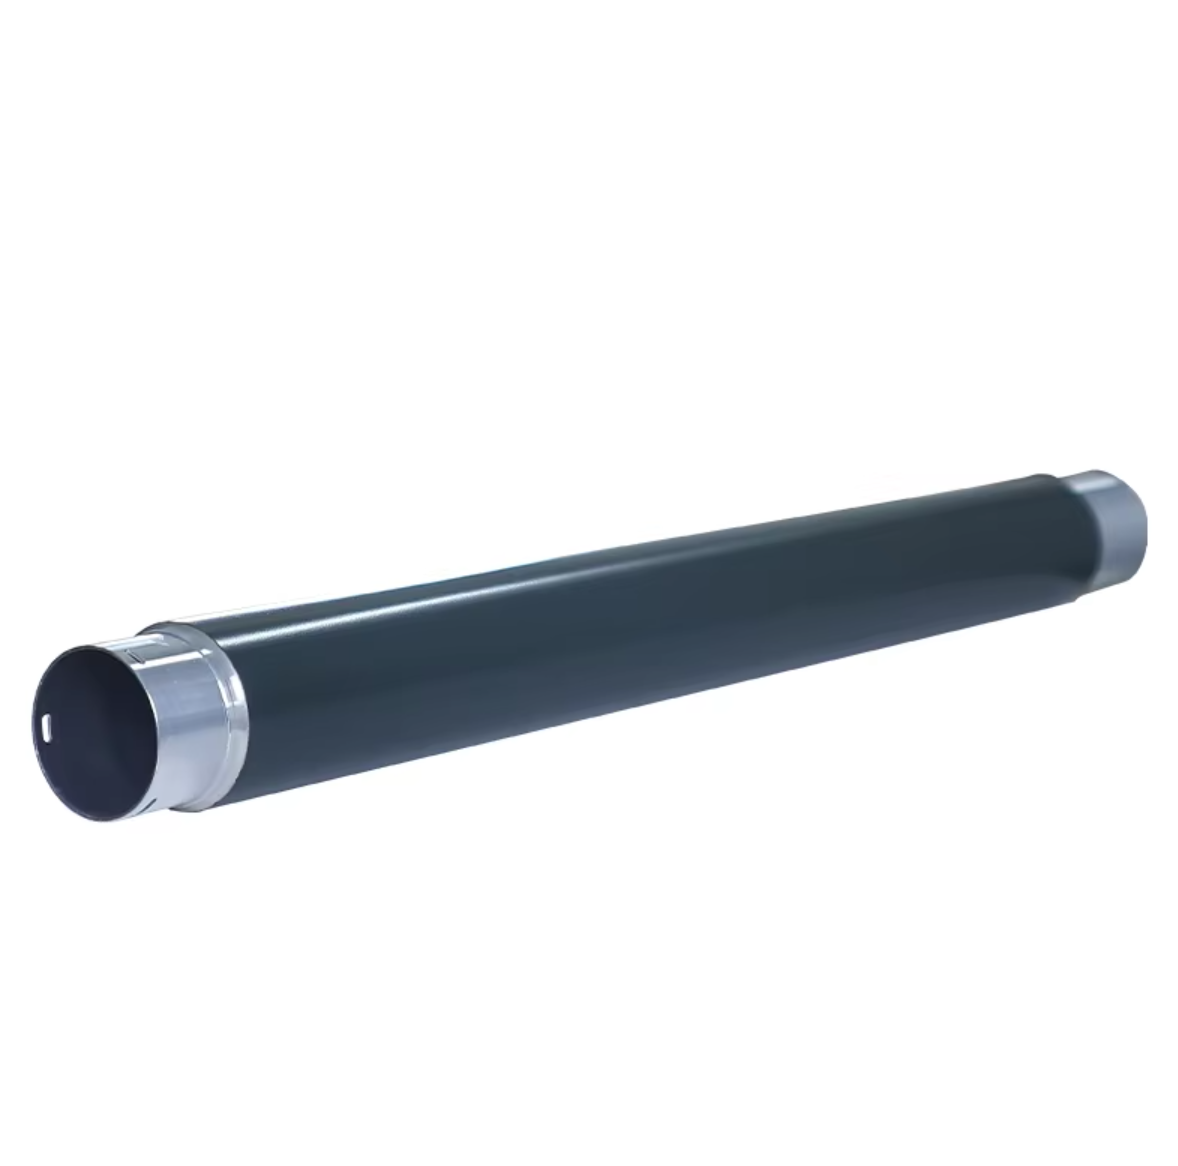
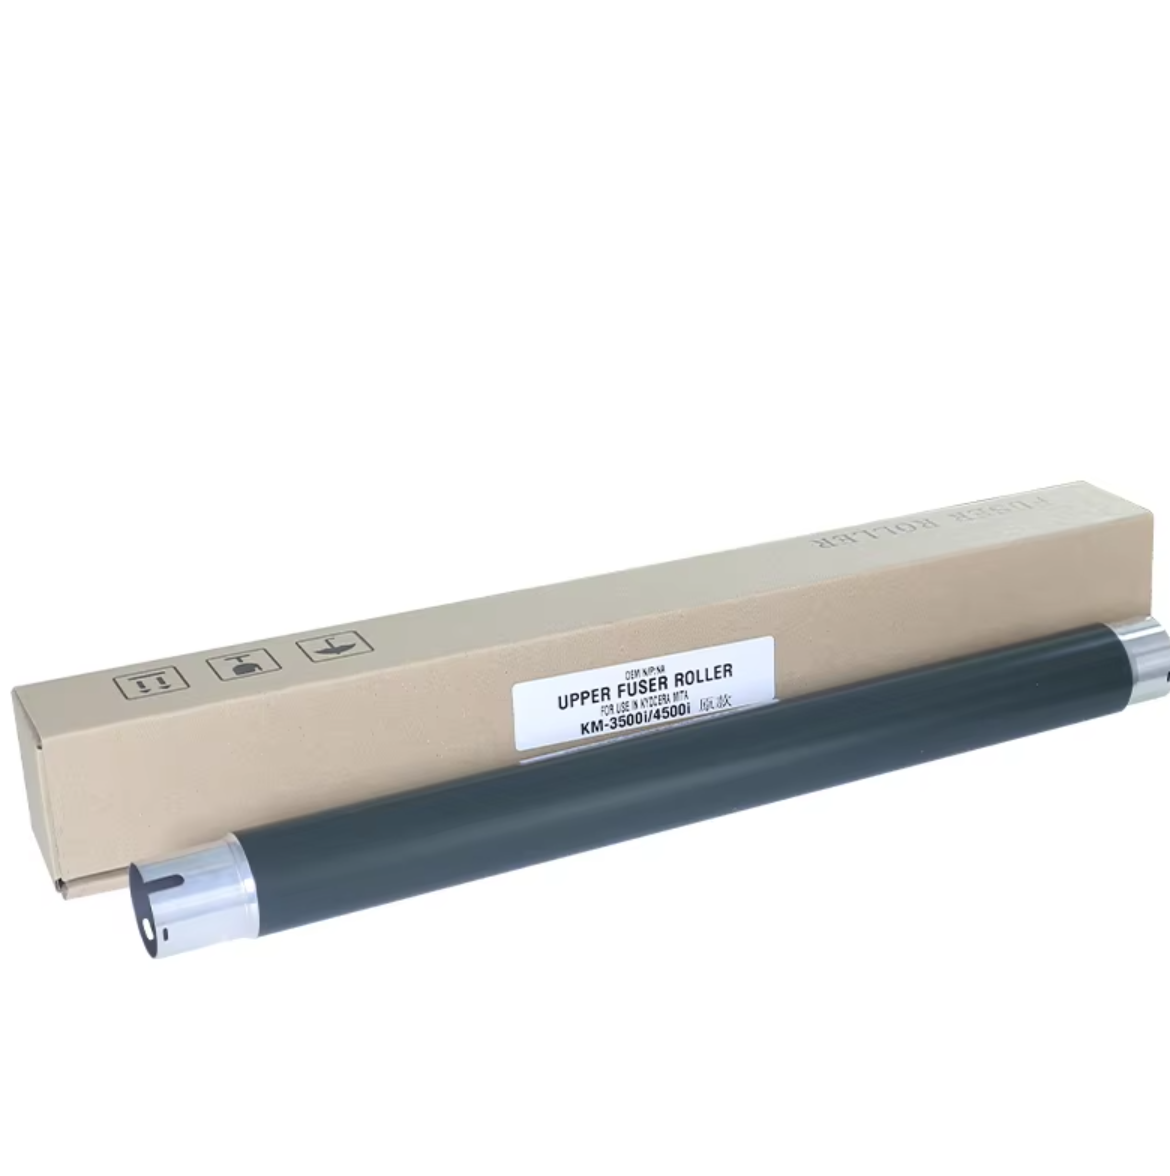
The upper fuser roller plays a vital role in the printing process, serving as the cornerstone of image transfer and paper handling in modern printing devices. This essential component works in conjunction with the lower pressure roller to apply the perfect combination of heat and pressure needed to permanently bond toner to paper. When properly installed and maintained, an upper fuser roller ensures consistent print quality and extends the life of your printing equipment.
Whether you're a seasoned printer technician or handling maintenance tasks for your office equipment, knowing how to correctly install an upper fuser roller is crucial. This comprehensive guide will walk you through the entire process, from preparation to final testing, ensuring your printer performs at its optimal level.
Essential Preparation Steps for Fuser Roller Installation
Safety Measures and Required Tools
Before beginning the installation of an upper fuser roller, ensuring workplace safety is paramount. The fuser assembly operates at extremely high temperatures, so always allow sufficient cooling time - typically 30-45 minutes after powering down the printer. Gather necessary tools including thermal-resistant gloves, a clean lint-free cloth, isopropyl alcohol, and any specific tools recommended by your printer manufacturer.
Having the correct replacement upper fuser roller is equally important. Verify the part number and specifications match your printer model exactly. Using an incompatible roller can lead to poor print quality or potentially damage your printer's fuser assembly.
Printer Preparation and Access
Start by powering down the printer completely and unplugging it from the electrical outlet. Remove all paper from the trays and any documents from the output bins. Locate the access panel for the fuser assembly - this typically requires removing rear panels or opening specific maintenance doors. Consult your printer's service manual for the exact location and access procedures for your model.
Clear the workspace around the printer to ensure you have adequate room to maneuver. Good lighting is essential, so consider using a supplementary work light if needed. Having a clean surface nearby to place removed components will help keep track of all parts during the installation process.
Step-by-Step Installation Process
Removing the Old Upper Fuser Roller
Begin by carefully removing the fuser assembly from the printer if required by your model. Some printers allow direct access to the upper fuser roller without complete removal of the assembly. Release any locking mechanisms or retention clips securing the old roller. Note the orientation and position of all components - taking photos with your smartphone can be helpful for reference during reassembly.
Gently lift out the old upper fuser roller, being mindful of any gear mechanisms or electrical connections. If you encounter resistance, double-check for additional securing points rather than forcing the removal. Place the old roller aside, noting any wear patterns or damage for future reference.
Installing the New Upper Fuser Roller
Before installing the new upper fuser roller, clean the surrounding area using a lint-free cloth and isopropyl alcohol. This removes any toner debris or paper dust that could affect performance. Inspect the new roller for any shipping damage or defects before proceeding with installation.
Carefully align the new upper fuser roller with its mounting points, ensuring proper orientation of gears and electrical contacts. Apply even pressure when seating the roller, allowing it to slide smoothly into position. Secure all retention clips or locking mechanisms, verifying they're fully engaged but not overtightened.
Post-Installation Procedures and Testing
Initial Checks and Adjustments
Once the new upper fuser roller is installed, manually rotate it to ensure smooth movement without binding or unusual resistance. Check that all surrounding components are properly positioned and not interfering with the roller's operation. Verify all electrical connections are secure and correctly seated.
Reassemble any removed panels or covers, making sure all screws and fasteners are properly tightened. Double-check that no tools or cleaning materials have been left inside the printer. This attention to detail prevents potential damage when the printer is returned to service.
Quality Testing and Validation
After completing the installation, run several test prints to evaluate performance. Begin with basic text documents to check for proper toner adhesion and paper feeding. Gradually progress to more complex documents with various coverage levels and paper types. Pay particular attention to image quality, looking for any signs of streaking, smudging, or uneven fuser performance.
Monitor the printer's operation for any unusual sounds or paper handling issues. The new upper fuser roller should provide consistent, high-quality output without paper jams or feeding problems. Keep the first few dozen prints for comparison to help identify any developing issues early.
Maintenance and Optimization
Regular Cleaning and Inspection
Establish a regular maintenance schedule for your newly installed upper fuser roller. Periodic cleaning with approved materials helps prevent toner buildup and maintains optimal performance. Inspect the roller surface for signs of wear or contamination during routine maintenance activities.
Keep detailed records of installation date, maintenance performed, and any observations about print quality or performance changes. This information proves invaluable for troubleshooting and planning future maintenance activities.
Performance Monitoring
Monitor print quality and paper handling performance over time to ensure the upper fuser roller continues functioning optimally. Pay attention to any changes in print appearance or increases in paper jams, as these may indicate developing issues requiring attention.
Track the volume of prints processed through the new roller, using this information to plan future replacements proactively rather than waiting for failure. This approach minimizes downtime and maintains consistent print quality.
Frequently Asked Questions
How often should an upper fuser roller be replaced?
The replacement interval for an upper fuser roller varies depending on print volume, paper types used, and environmental conditions. Generally, replacement is recommended every 150,000 to 300,000 pages, or when print quality issues become apparent. Regular inspection and maintenance can help determine the optimal replacement timing for your specific situation.
What are common signs that an upper fuser roller needs replacement?
Key indicators include wrinkled or creased output, toner not properly fusing to paper, repeated paper jams, and visible wear or damage to the roller surface. Strange noises during printing or inconsistent print quality across the page width can also signal the need for replacement.
Can I clean an upper fuser roller instead of replacing it?
While regular cleaning can extend the life of an upper fuser roller, it cannot reverse physical wear or damage. Cleaning should be performed as part of routine maintenance, but once the roller shows signs of deterioration or exceeds its recommended service life, replacement is necessary to maintain print quality and prevent potential damage to other printer components.