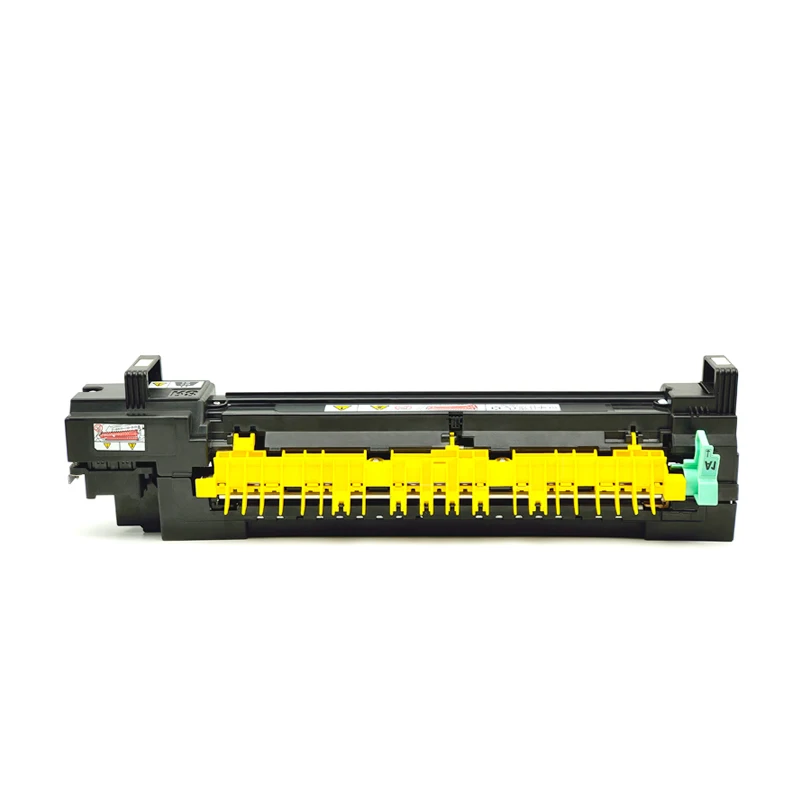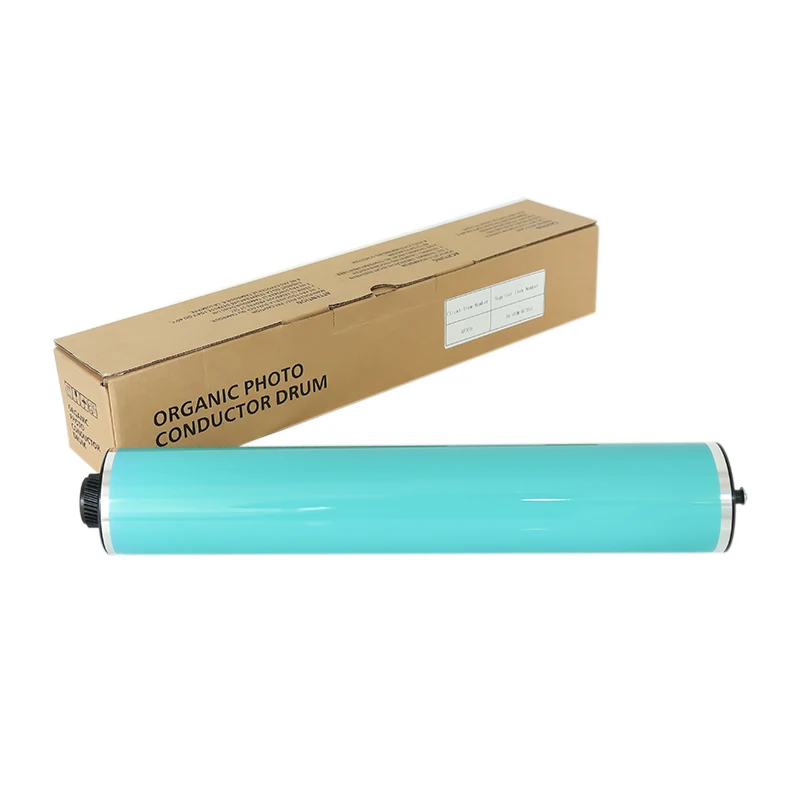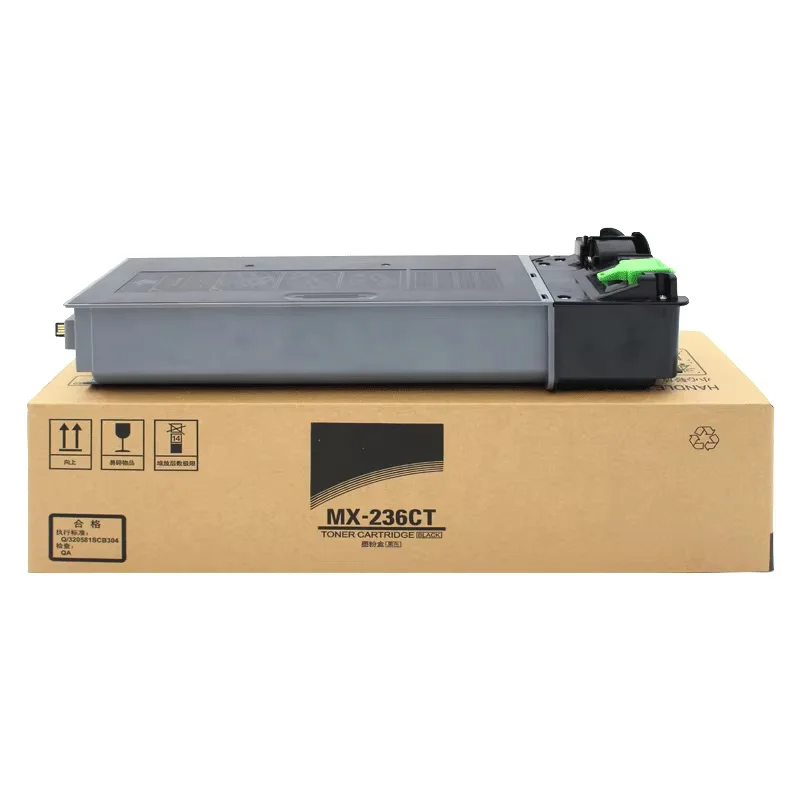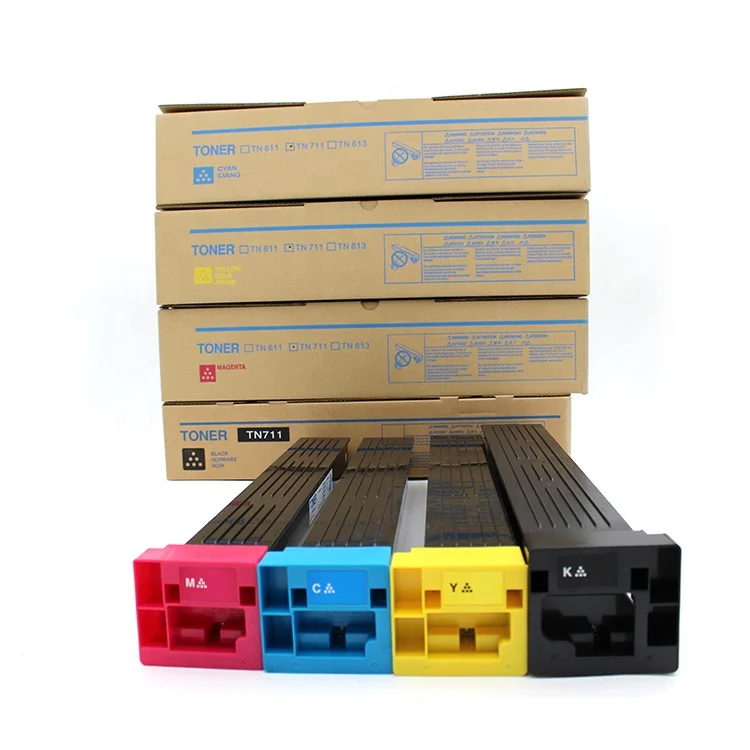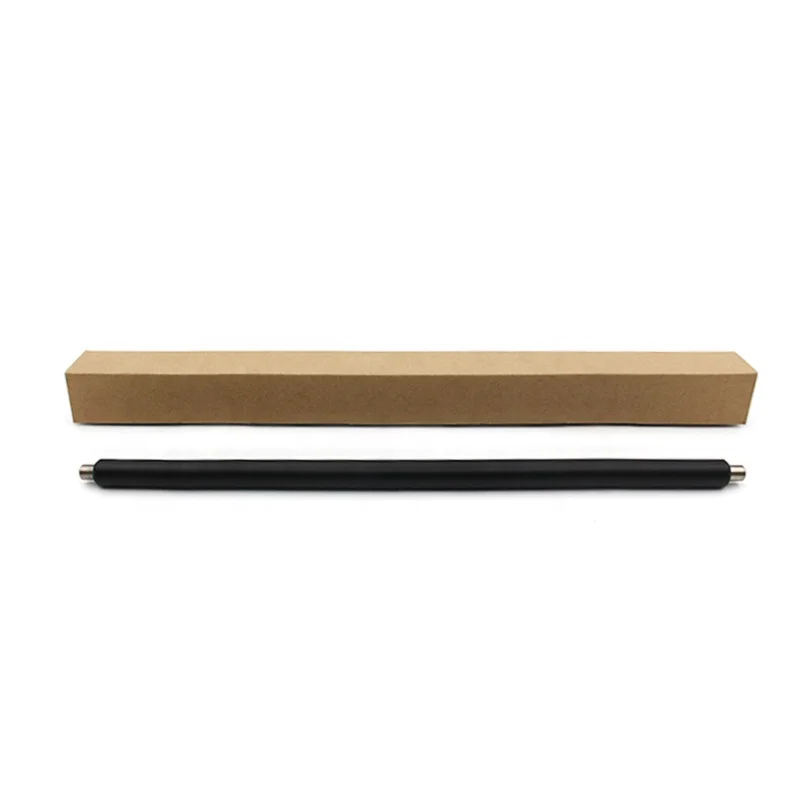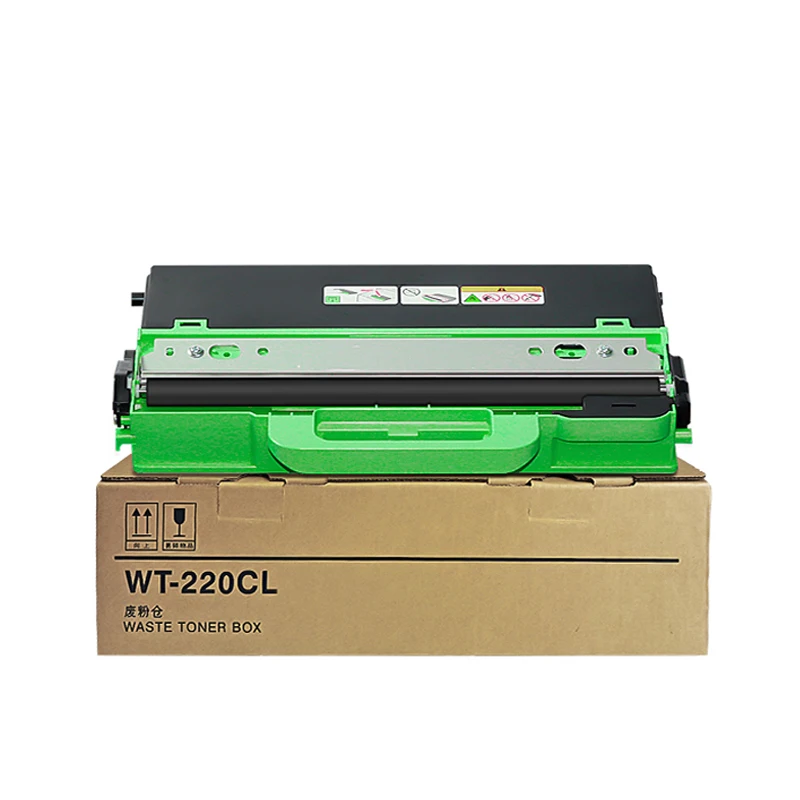

Athsholáthar an BODHRÁN OPC is é ceann de na nósanna imeachta cothabhála is coitianta do Konica Minolta bizhub cóipéirí . Má tá priontálacha fuaraithe, marcanna athsheasmhacha nó drochchaighdeán íomhá ag do chóipeálaí, is féidir le dráma nua OPC a shuiteáil feidhmíocht phriontála a athbhunú. Lean na céimeanna thíos chun an dráma a athsholáthar go sábháilte.
Cuireann an scagán ar bhord oibre glan, seasmhach agus an aschur toner dramhaíola ag díriú suas. Coscann sé seo sceitheadh toner agus an scagán tá sé á díchompar. Sula dtosaíonn tú, ullmhaigh screwdriver agus oibrigh i dtimpeallacht ghlan chun truailliú an dromchla OPC a sheachaint.
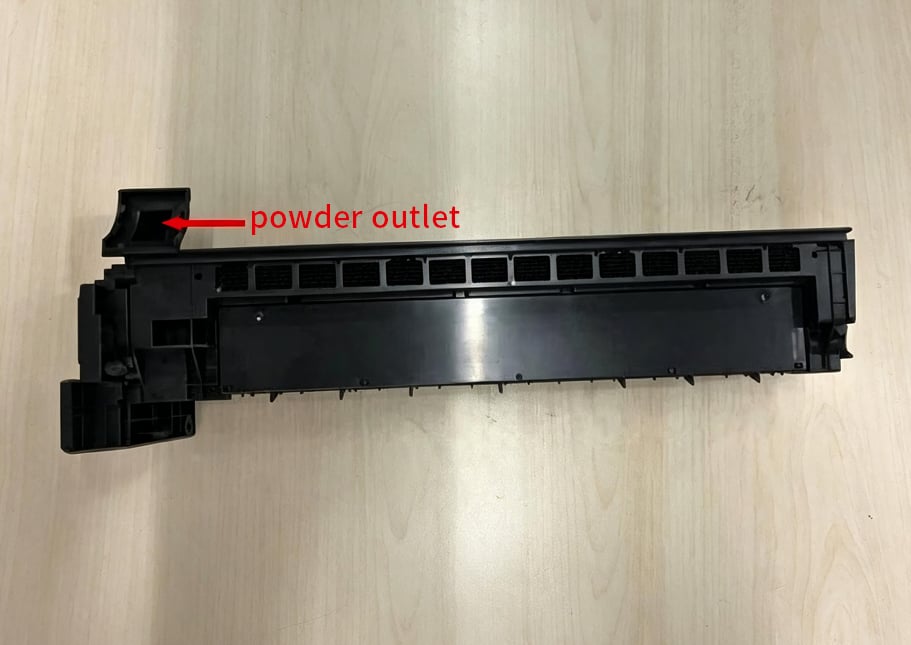
Úsáid screwdriver chun na screws a cheanglaíonn an dá chlúdach taobh den aonad druma a bhaint. Coinnigh na screws i áit shábháilte chun iad a sheachaint a chailleadh le linn ath-aontaithe.
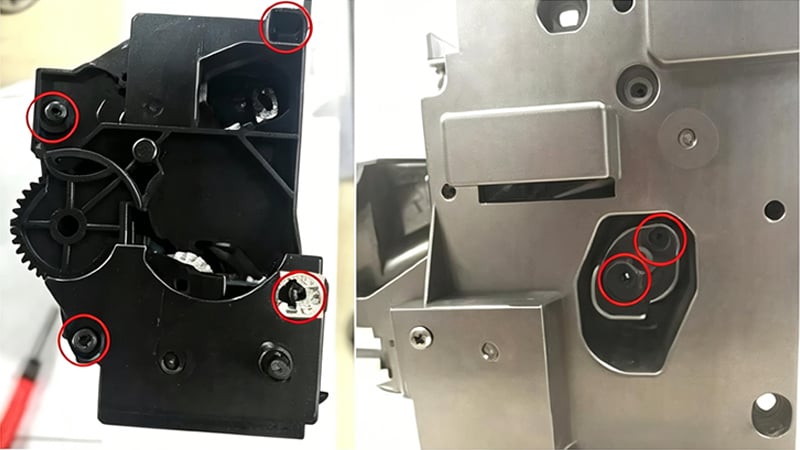
Aimsigh an clip (nó pin) a choinníonn an rúndrum OPC i a ionad. Bain é go cúramach gan bheith ag úsáid fórsa mór, mar úsáidfear an clip arís le linn an suiteála.
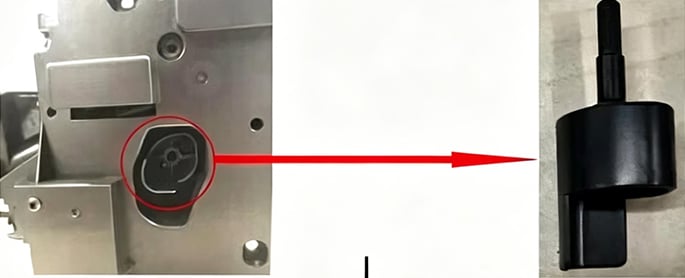
Tar éis an clip a bhaint, bain an clúdach taobh na gearr go bog. Bí cúramach nach ndéanfaidh tú aon turgnamh ar na gairiseanna nó ar na spriongaí laistigh den chomhlacht.
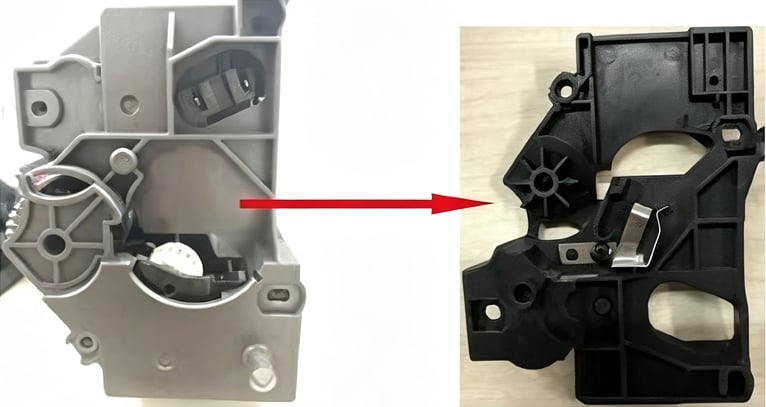
Gabh an gearr rúndrum agus ardagh é go mall an BODHRÁN OPC ó an t-aonad rúndrum. Le linn an bhainte, seachain aon teagmháil le haghaidh an rúndrum nó aon teagmháil leis na gcluasaí scartha, mar is féidir scraibhneacha a dhéanamh ar an rúndrum go deo.
Nuair a shuiteálann tú an rúndrum nua, lean na céimeanna cúramacha céanna chun damáiste dochair a sheachaint.
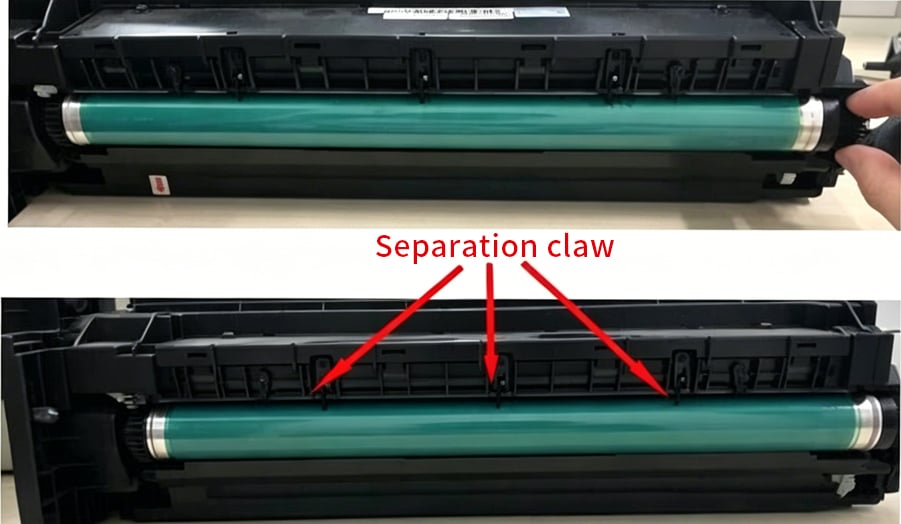
Nuair a athshuiteálann tú an clúdach taobh, déan cinnte go bhfuil an post suíomh an ghreidh chumhachtach coimeáinte go hiomlán leis an slota suíomh ar an gclúdach. D’fhéadfadh coimeáin mícheart an t-aonad rúndrum a chur as oibriú.
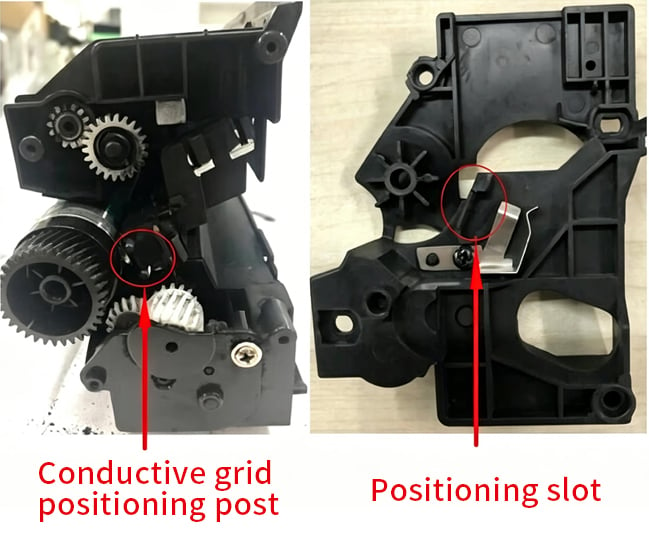
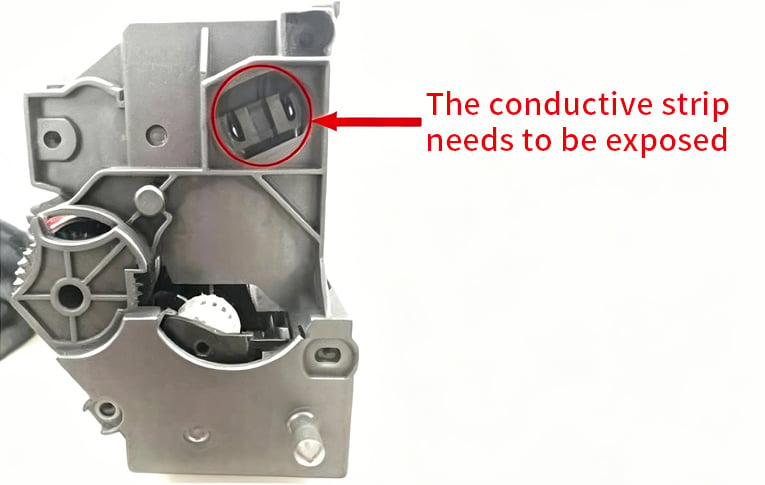
Cuir an iomláin taobh istigh ar ais, cuir an clip gáire isteach, agus tiocfaidh gach sriopóga go daingean. Seiceáil go bhfuil gach comhpháirt suite go daingean sula gcuirtear an scagán ar ais isteach sa chóipéadóir.
Chun an t-am a fhaightear ón rúndrum OPC nua a fheabhsú, seachain a bheith faoi sholas na gréine go díreach agus déan iompar air ach leis na críocha, ná leis an ualach íoghnach. I rith an ionadaithe, molaimid freisin an lámhóg glantachta, an rolla chumasc príomha, agus na comhpháirteanna eile a chaiteann páirteanna chun feidhmchláir phriontála is fearr a bhaint as.
 Nuacht Nua
2026-08-19
2026-08-12
2026-07-30
2026-07-24
2026-07-21
2026-07-11
Tá Guangzhou SC Office Equipment Co., Ltd. in ann cóipitheoir agus priontar comhráiteacha den chéad scoth a sholáthar ó 2009 amach. Fáil amach ar thaisce tonair agus freastal ar íomhá.
Foirgneamh H, Páirc Nuálaíochta Yushu, Cathair na hEolaíochta, Contae Huangpu, Guangzhou, Guangdong, An tSín
Cóipcheart © 2026 Comhlacht Oibiectúmacha Oifige Guangzhou Xinshengchu Teo. Gach ceart Beartas príobháideachta
 EN
EN