
Mastering Clean Toner Box Replacement
Replacing a waste toner box is a crucial maintenance task for any printer owner, yet it's often approached with trepidation due to the potential mess involved. The waste toner box collects excess toner particles during printing, and when it reaches capacity, it requires careful replacement to maintain printer functionality. Understanding the proper technique for this procedure can save you time, prevent toner spills, and protect both your workspace and health.
Whether you're managing an office printer or maintaining your home printing setup, knowing how to handle waste toner box replacement effectively is an essential skill. This comprehensive guide will walk you through the entire process, ensuring you can complete this task with confidence and minimal risk of toner spillage.
Essential Preparation Steps
Gathering Necessary Materials
Before beginning the waste toner box replacement process, assemble all required materials. You'll need disposable gloves to protect your hands, paper towels or cleaning cloths for any potential spills, and most importantly, the new waste toner box compatible with your printer model. Having a plastic bag ready for the old waste toner box disposal is also recommended.
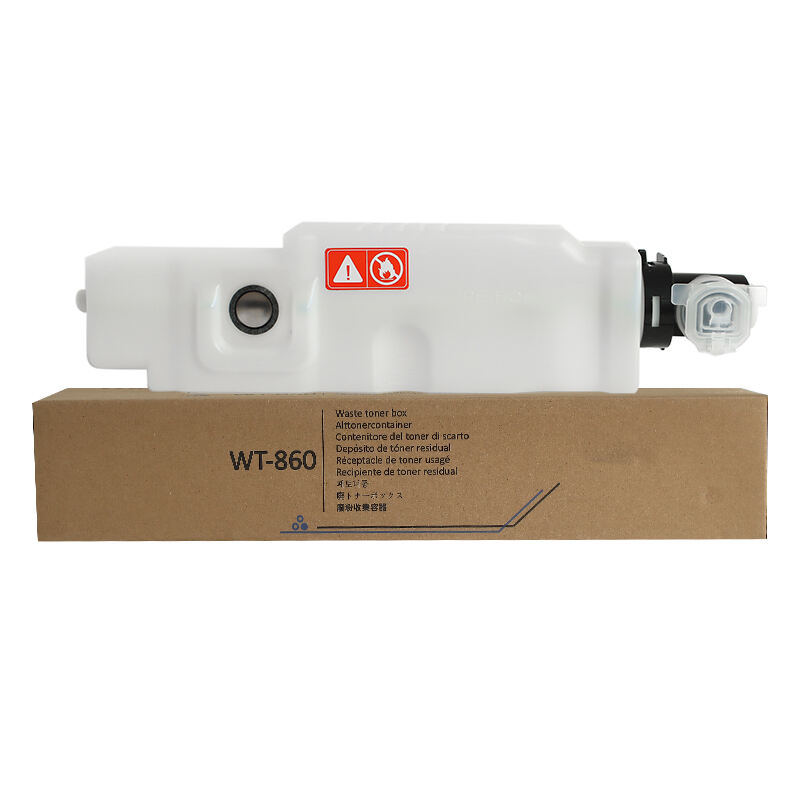
It's crucial to verify that you have the correct replacement waste toner box for your specific printer model. Using an incompatible box can lead to poor fit, potential leaks, and printer malfunction. Check your printer's manual or manufacturer's website to confirm the exact part number needed.
Workspace Preparation
Select a well-ventilated area for the replacement process. Cover your work surface with newspaper or a disposable cloth to catch any accidental spills. Ensure you have adequate lighting to see clearly during the procedure. If possible, position yourself near a waste bin for convenient disposal of materials.
Power down your printer and let it cool for at least 30 minutes before starting. This cooling period is essential as internal components can be hot and toner particles more likely to disperse when warm. The waiting time also allows any airborne toner particles to settle.
Step-by-Step Installation Process
Removing the Old Waste Toner Box
Begin by locating the waste toner box compartment in your printer. This is typically accessed through a side panel or front door. Open the access panel slowly and carefully to avoid disturbing any loose toner particles. Gently slide out the old waste toner box, keeping it level to prevent spills.
Once removed, immediately seal any open ports on the old waste toner box using the plugs or caps provided with the new unit. If the old box has a built-in seal, ensure it's properly engaged. Place the sealed old box into a plastic bag and set it aside for proper disposal.
Installing the New Box
Remove the new waste toner box from its packaging, being careful not to remove any protective seals until necessary. Check for any shipping locks or tabs that need to be removed. Orient the new box according to the printer's guides and alignment markers.
Slide the new waste toner box into position smoothly and steadily. Avoid tilting or jerking motions that could cause premature toner spillage. Listen for clicking sounds or feel for proper engagement of locking mechanisms that indicate correct installation.

Post-Installation Procedures
Verifying Proper Installation
After installing the new waste toner box, check all connection points to ensure proper seating. Most printers have indicator lights or display messages confirming successful installation. Gently tug the box to verify it's securely in place without any wobbling or loose edges.
Close all access panels firmly but gently. Some printers require specific panel closing sequences - consult your manual if unsure. Watch for any error messages on the printer display that might indicate installation issues.
Cleanup and Maintenance
Clean any visible toner dust from the printer's exterior using approved cleaning materials. Never use water or liquid cleaners on toner particles, as this can cause them to become sticky and harder to remove. Dispose of cleaning materials properly in sealed bags.
Remove and dispose of protective coverings from your workspace. Check your clothing and surrounding areas for any toner dust that may have escaped during the process. Regular maintenance scheduling can help predict when the next waste toner box replacement will be needed.
Frequently Asked Questions
How Often Should I Replace the Waste Toner Box?
Replacement frequency depends on your printing volume and type of documents printed. Most printers will display a warning message when the waste toner box is nearly full. Generally, replacement is needed every 30,000 to 50,000 pages, but this varies by printer model and usage patterns.
Can I Reuse or Refill a Waste Toner Box?
Reusing or refilling a waste toner box is not recommended by manufacturers. The box contains special materials designed to safely contain waste toner, and repeated use may compromise its integrity. Always use new, manufacturer-approved waste toner boxes for optimal printer performance and safety.
What Should I Do If I Accidentally Spill Toner During Replacement?
If toner spills occur, avoid using water or liquid cleaners. Instead, use a dry paper towel or specialized toner vacuum to carefully collect the spilled powder. Dispose of cleaning materials in a sealed bag. For large spills, contact your printer manufacturer or a qualified service technician for proper cleaning procedures.